Tosin Amuda

Containers and Kubernetes are some of the recent darlings of developers in 2021. This week I needed to deploy a React app I was building to a Kubernetes (k8s) environment and I had to write a Dockerfile for my react app. It then dawned on me how I could I have used docker in 2013.
Before we go into the main guide, I think it is important to understand how we got to loving Containers. In one of the internships I did, I was a Pre-Sales Engineer for EduERP an open-source ERP for universities.
EduERP was built using the LAMP stack (Linux, Apache, Mysql and PHP) and had a number of dependencies. I will usually guide a potential customer from a university on each step to successfully deploy the app on their own server. This could take a week, setting up the server, installing all the dependencies needed by the application and doing all the configuration to make the app work could take a week. This was sometimes in October 2013 I didn't know of Docker yet.
Today all I needed to do are rooted in five basic steps:
With these 5 steps, I would have saved my time and my client time and we would be able to get an EduERP up in 5 minutes depending on the internet speed while building the docker image. And each client will have the same experience so far they have docker running on their system and there is guarantee that the installation process will work.
Before we start, make sure you have:
If you don't have an existing react app, set up a new react app by running:
npx create-react-app my-app
cd into your my-app folder by running:
cd my-app
Create an nginx configuration file that docker nginx image will use to serve the build of the website. Add a new file nginx.conf in your new folder by running:
touch nginx.conf
Add the following content to the file:
server {
    listen 8080;
    server_name frontend;
    location / {
        root /usr/share/nginx/html;
        try_files $uri /index.html;
    }
}
My trick for writing a Dockerfile is understanding the normal workflow for developing and building the app. Typically for React Apps, you will do the following:
npm install to install all dependenciesnpm run build to build your app usually into a build folderNow it is time to create our Dockerfile. Create a new file on your terminal by running:
touch Dockerfile
Or you can just add new file in your Editor to the root of your new react app folder.
FROM bitnami/node:12-prod as builder
WORKDIR /app
COPY ./package.json /app/package.json
COPY ./yarn.lock /app/yarn.lock
ENV NODE_ENV=production
RUN yarn install --production
COPY . .
RUN yarn build

FROM nginxinc/nginx-unprivileged
COPY ./nginx.conf /etc/nginx/conf.d/default.conf
COPY --from=builder /app/build /usr/share/nginx/html
EXPOSE 8080
A few things to note in the docker file are the keywords like FROM, WORKDIR, COPY, ENV, RUN & EXPOSE.
You can read more about each of these keywords in the Docker documentation.
Run this command to build your docker image, feel free to use any appropriate name for your image instead of "my-react-app-name":
docker build -t my-react-app-name .
I will skip the push and pull to a container repository for this tutorial and just go to running the container on your machine to test if everything goes right.
To run your docker container you have to pay attention to three things:
my-react-app-name in Step 2docker run -p 8080:8080 my-react-app-name
If everything works fine, if you go to http://localhost:8080 you should see your newly containerized react application.
With Docker containers, deployment becomes consistent and predictable across different environments, solving the age-old problem of "it works on my machine" syndrome.

I discovered Andela's 'Eliminate Stupid Mental Effort (ESME)' concept in 2019, a refreshing perspective for Nigerian developers. ESME addresses the unnecessary mental exertion we endure daily, much like enduring Lagos traffic.

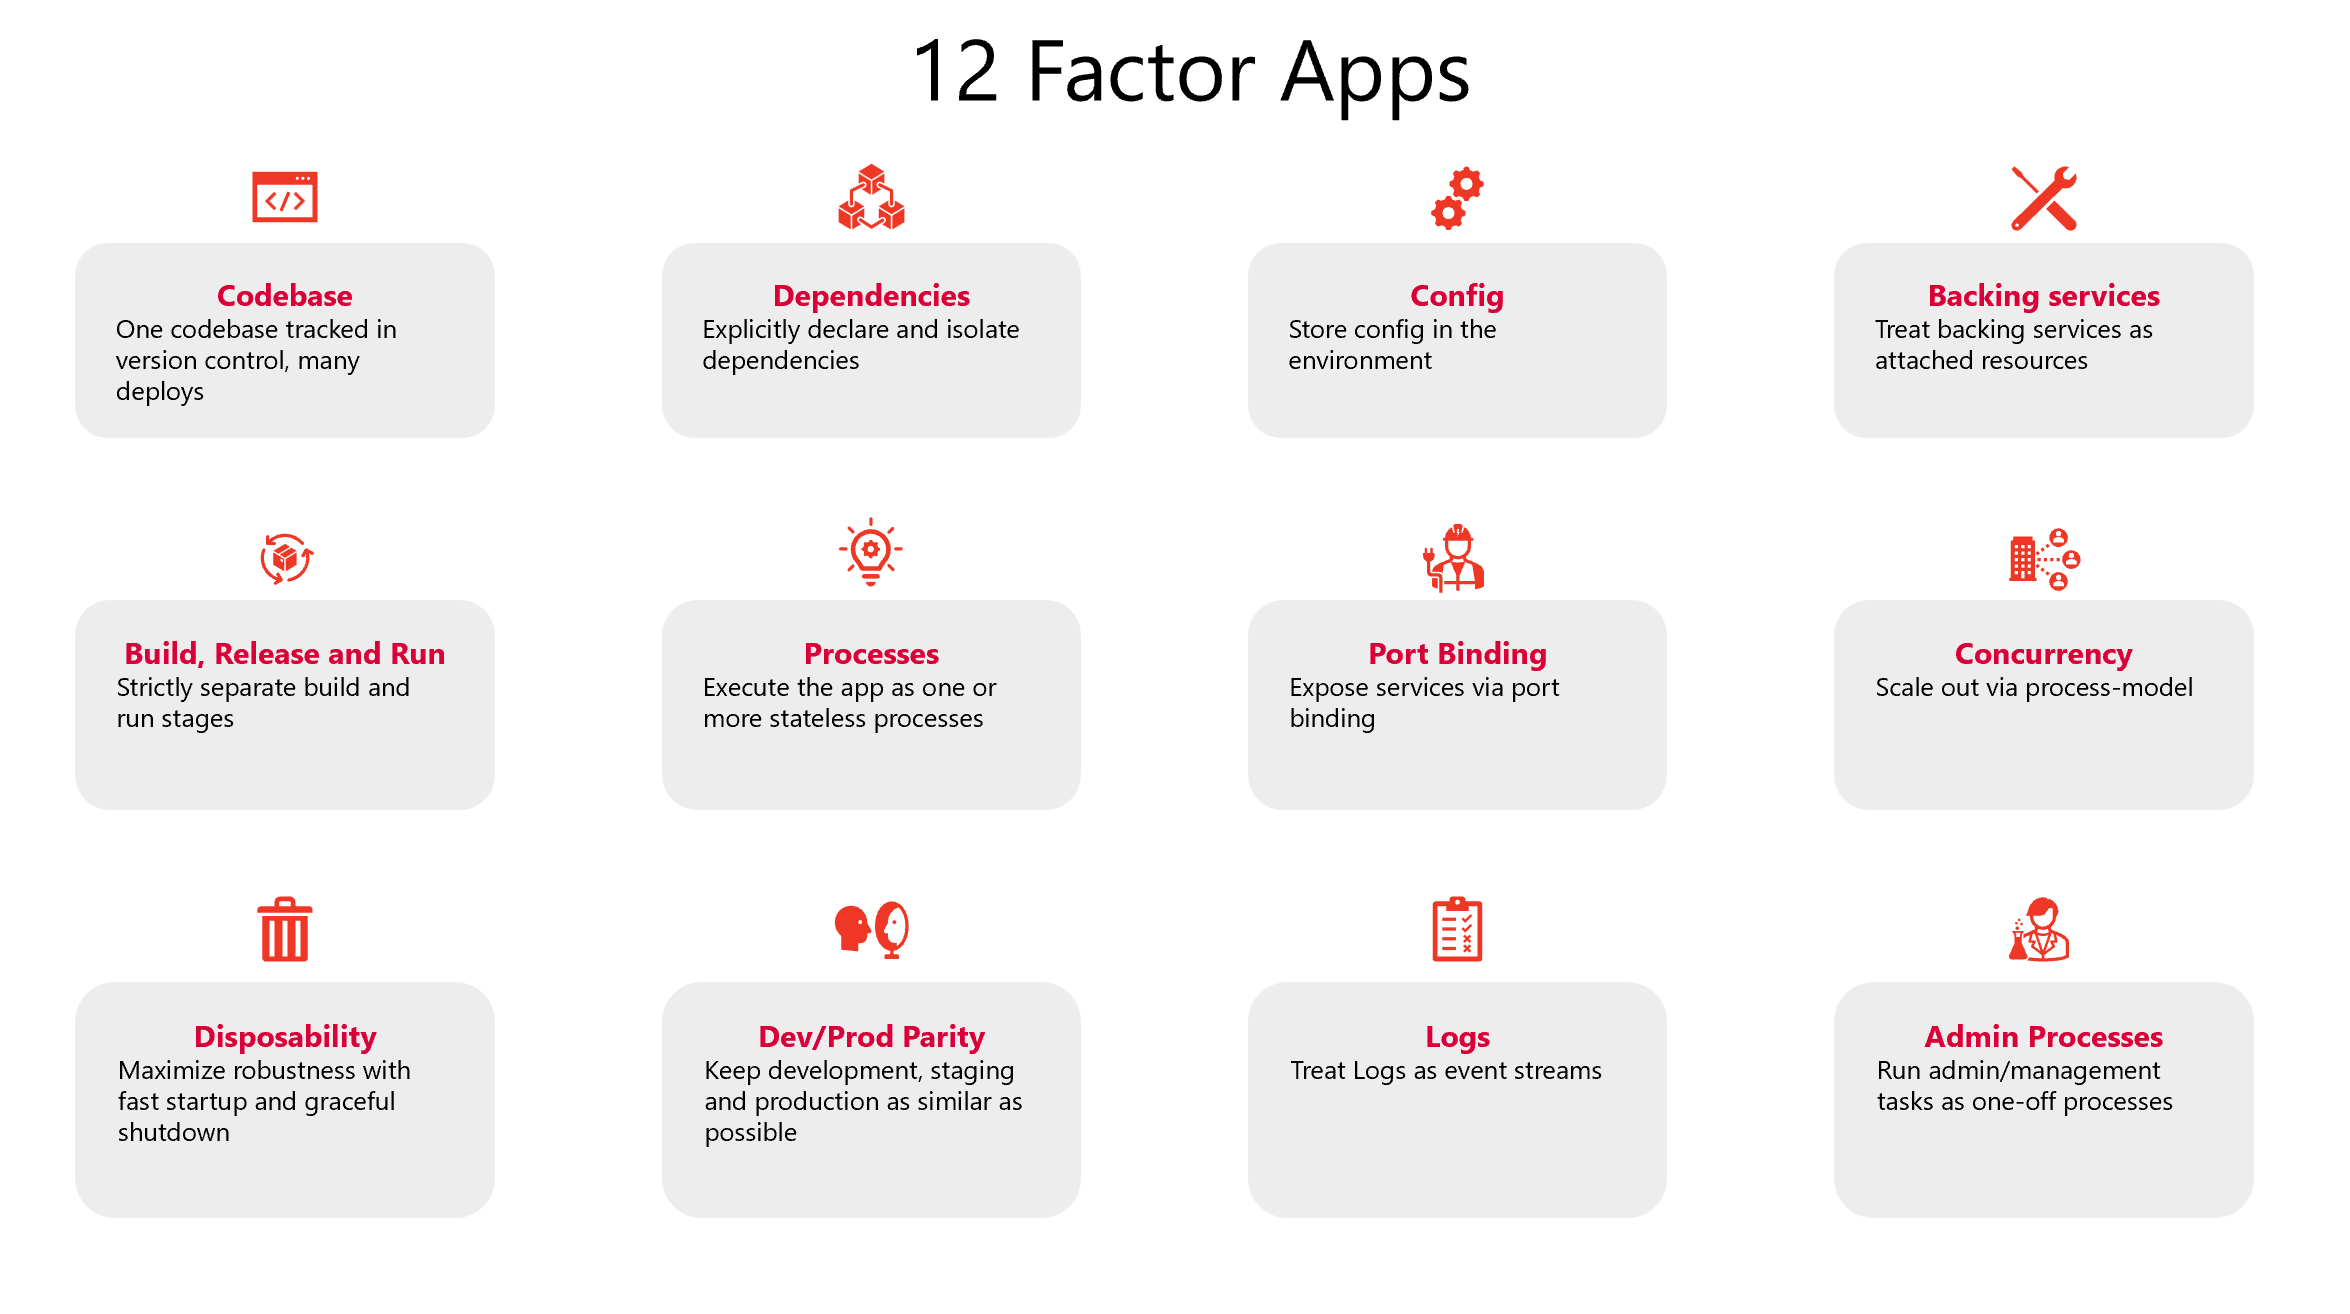
Learn the 12 principles introduced by Heroku engineers for developing high-quality web applications with scale, robustness, and portability in mind.

A simple explanation of the Serverless Cloud model using the analogy of two different types of restaurants - traditional busy restaurants vs. futuristic clone-based service.